Docker and IntelliJ IDEA
This chapter will show you basic Docker tooling with IntelliJ IDEA:
- Pull Docker images
- Run, stop, delete a Container
- Build an Image
Install Docker Plugin in IDEA
Go to “Preferences”, “Plugins”, “Install JetBrains plugin...”, search on “docker” and click on “Install”
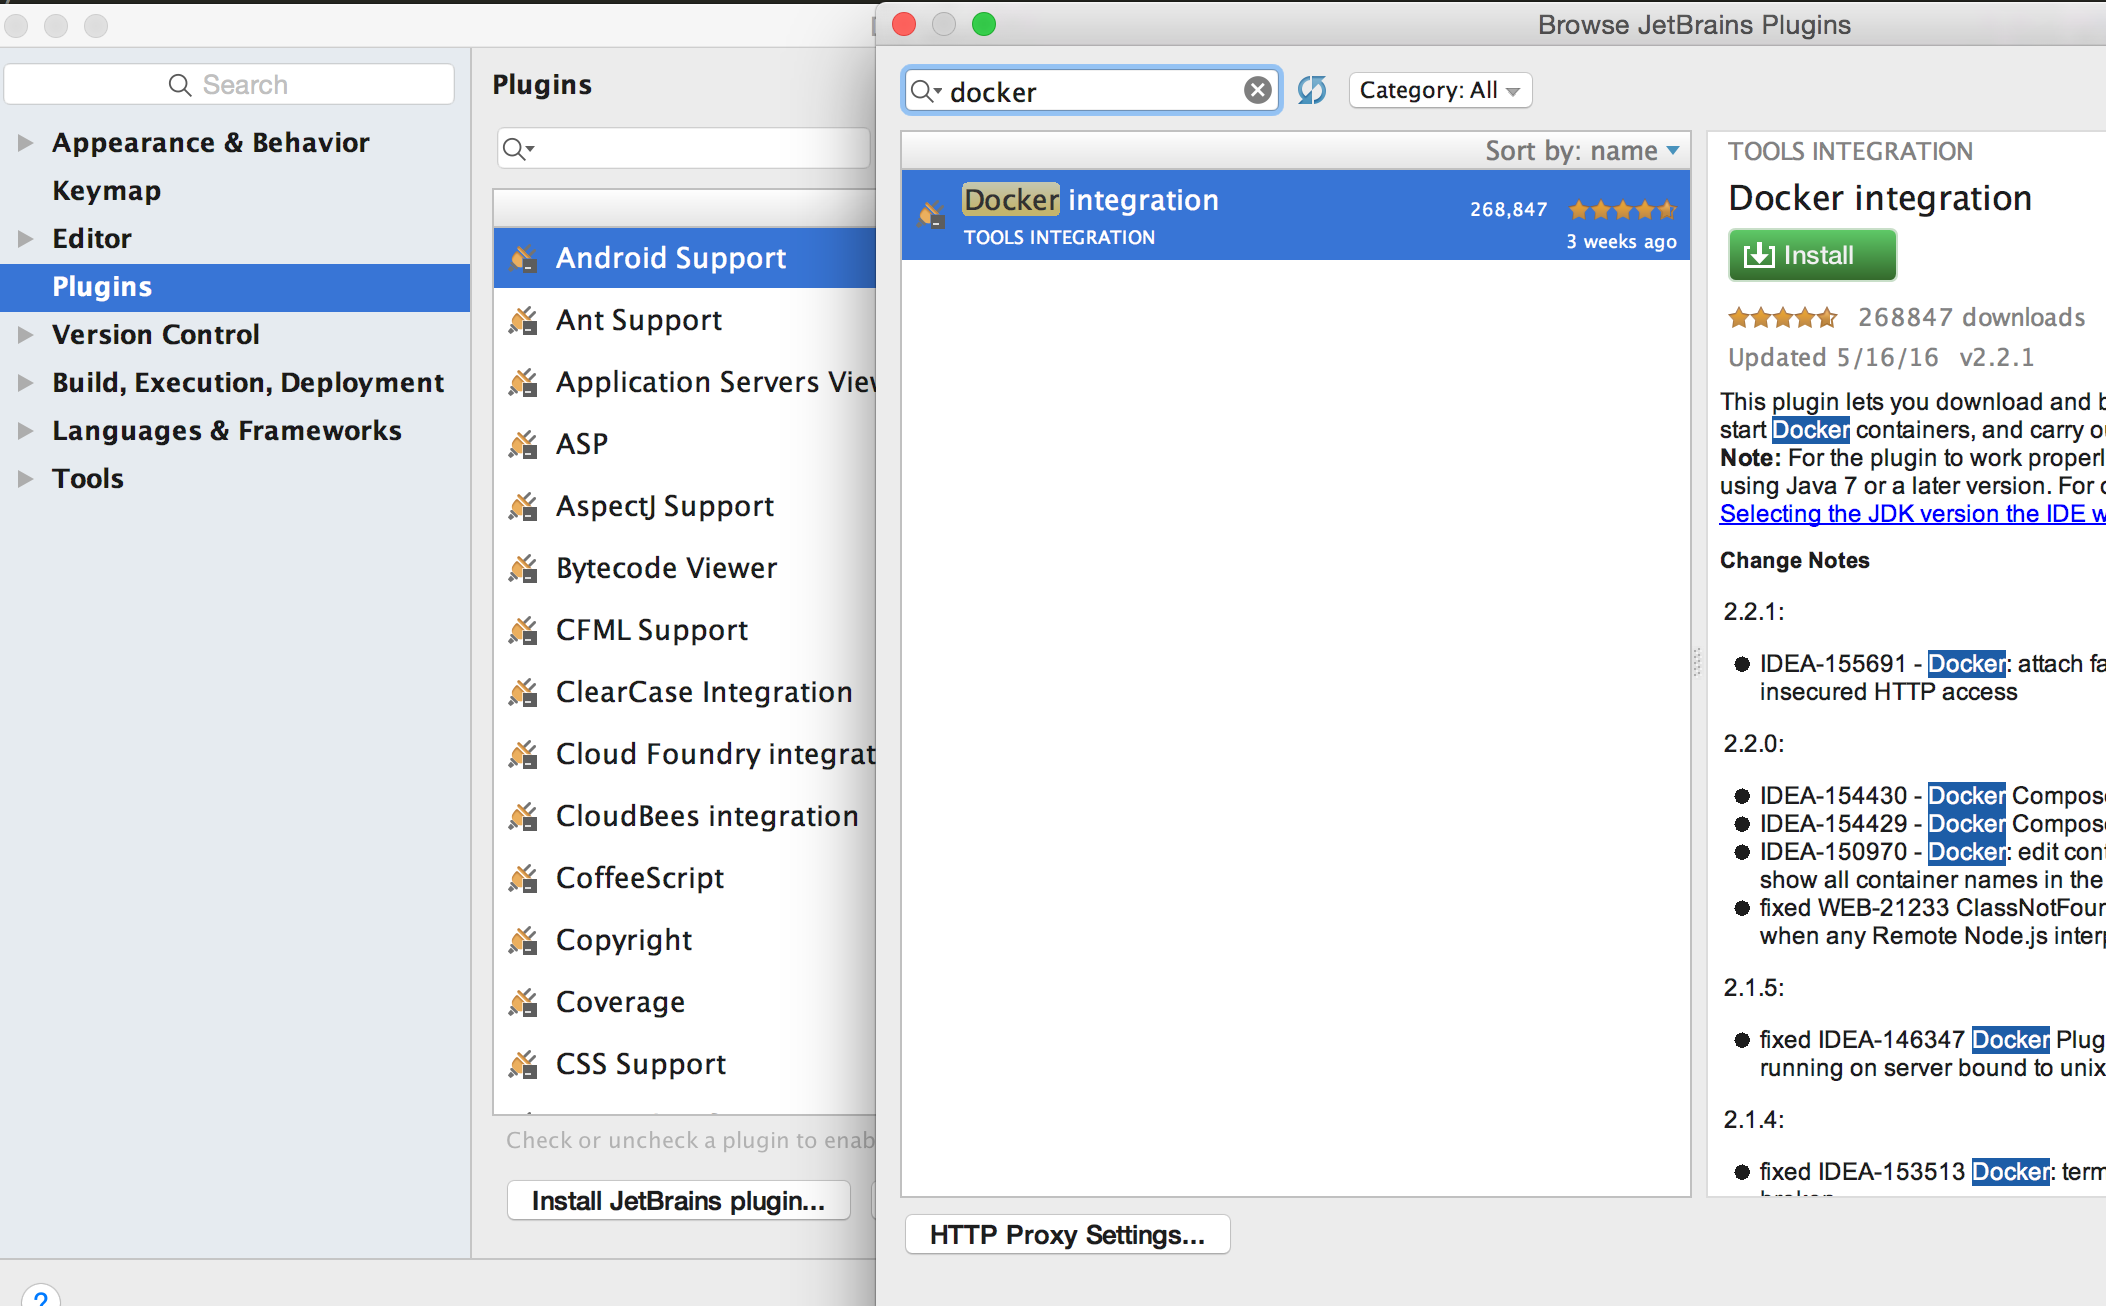
Restart IntelliJ IDEA to active plugin.
Click on “Create New Project”, select “Java”, “Web Application”
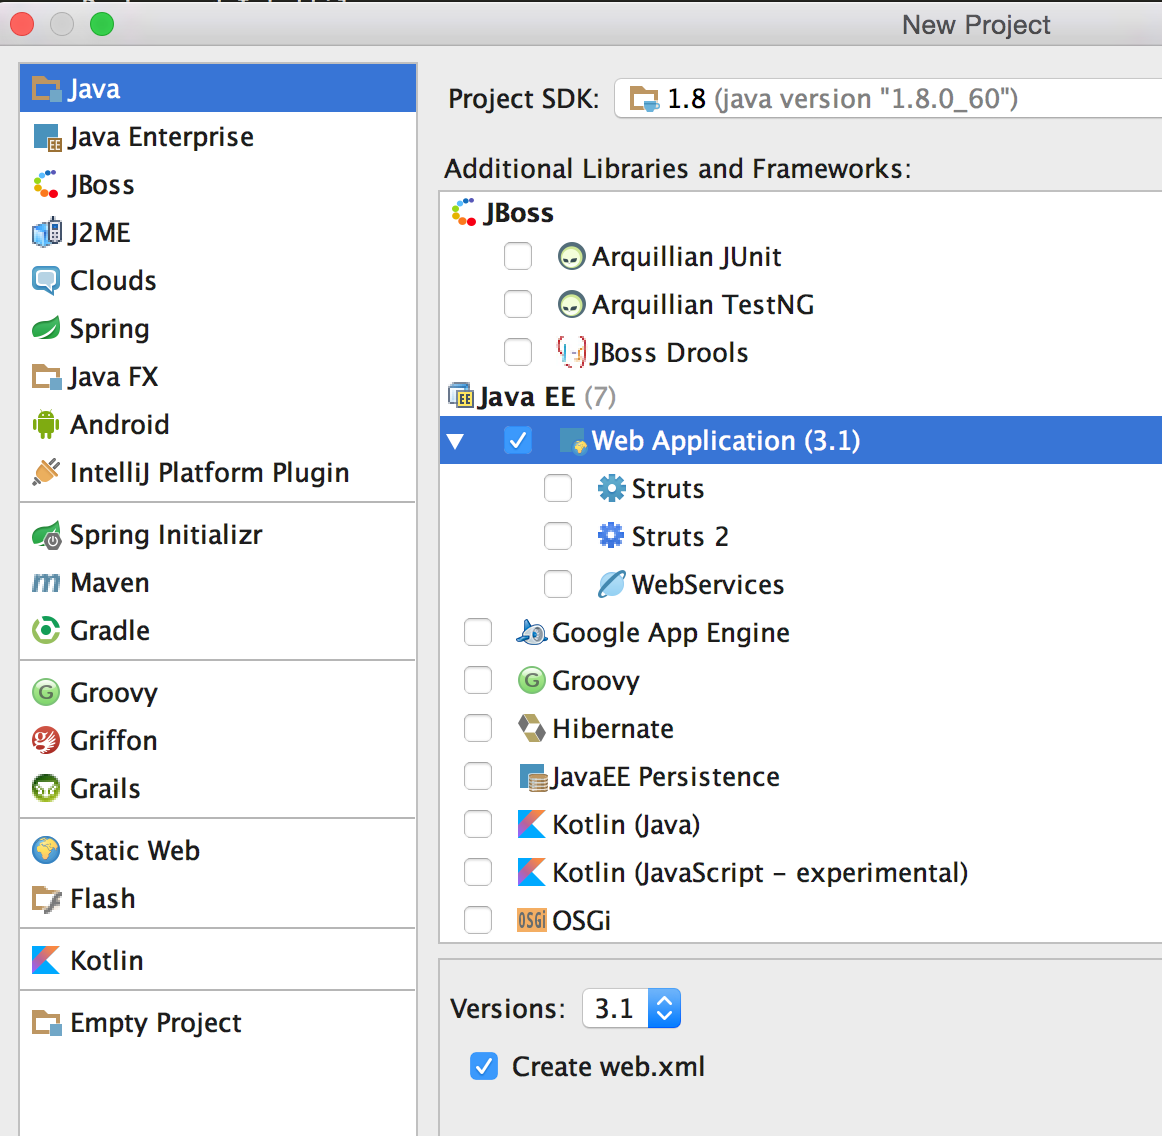
Click on “Next”, give the project a name “dockercon”, click on “Finish”. This will open up the project in IntelliJ window.
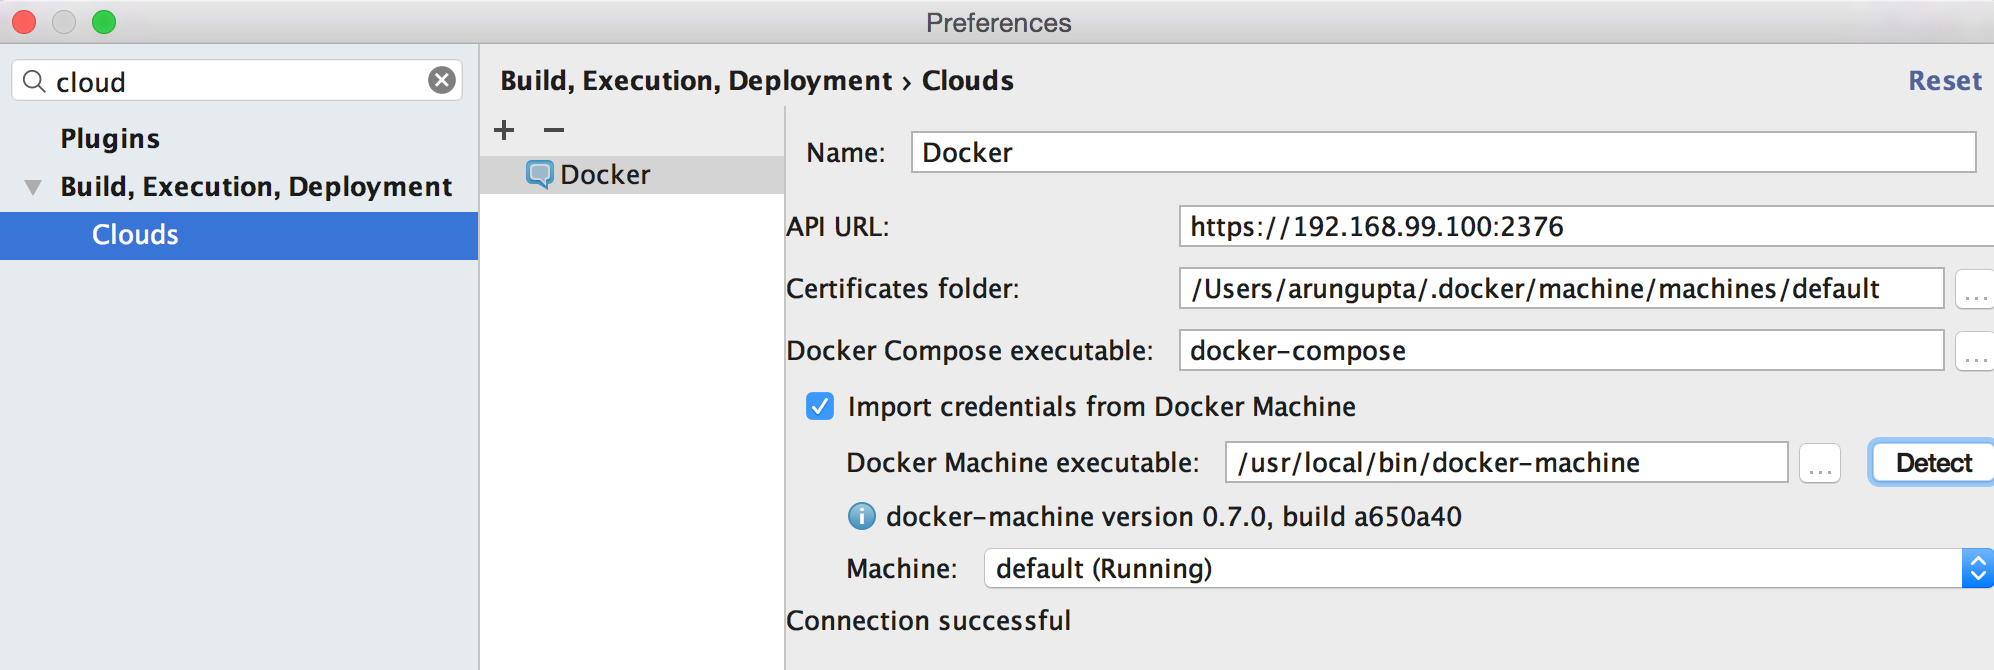
Go to “Preferences”, “Clouds”, add a new deployment by clicking on “+”. Click on “Import credentials from Docker Machine”, “Detect”, and see a successful connection. You may have to check the IP address of your Docker Machine. Find the IP address of your Docker Machine as docker-machine ip <machine-name> and specify the correct IP address here.
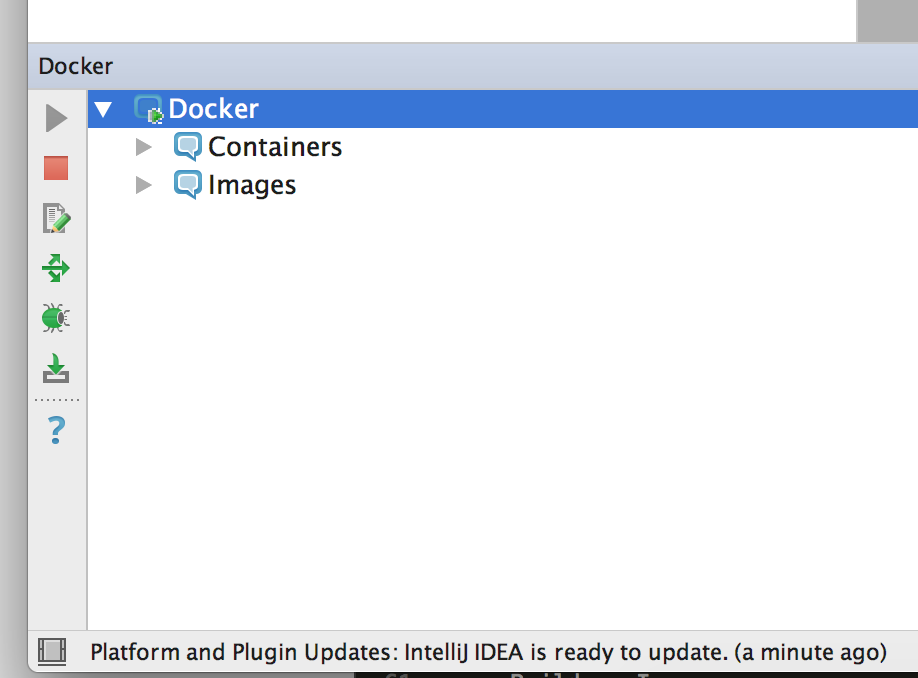
Go to “View”, “Tool Windows”, “Docker Tooling Window”. Click on “Connect”" to connect with Docker Machine. Make sure Docker Machine is running.
WARNING: IDEA does not work with “Docker for Mac” at this time. (ADD BUG #)
Pull an Image
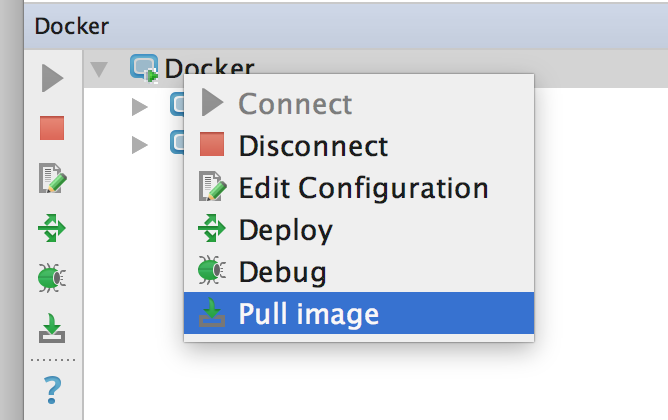
Select top-level node with the name “Docker”, click on “Pull image”
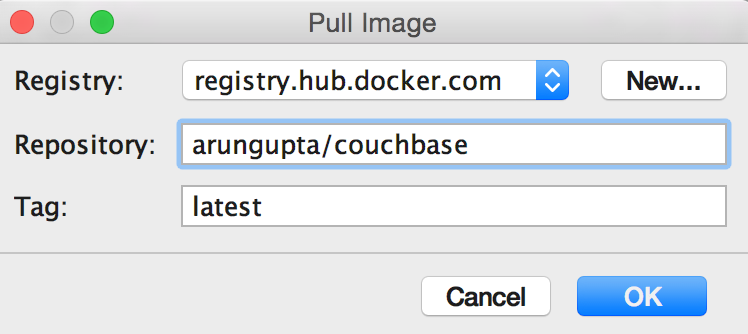
Type an image name, such as arungupta/couchbase, and “OK”
Expand “Containers” and “Images” to see existing running containers and images.
The specified image is now downloaded and shown as well.
Run a Container
Select the downloaded image, click on “Create container”
Select “After launch” and enter the URL as http://192.168.99.100:8091. Make sure to match the IP address of your Docker Machine.
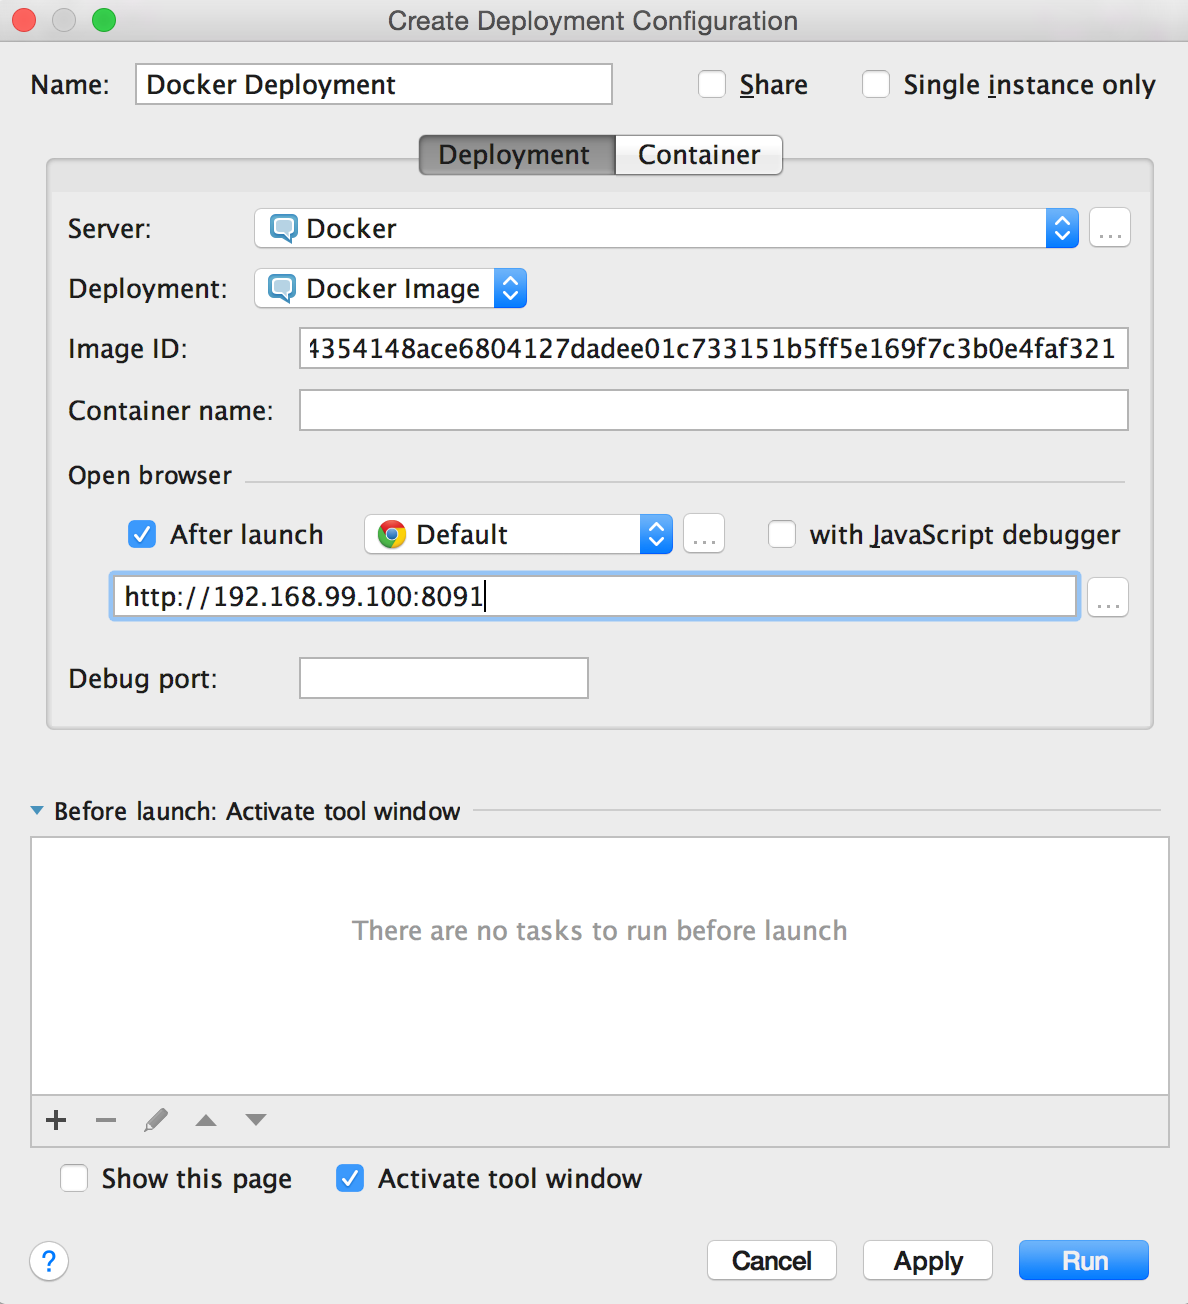
In “Container” tab, add “Port bindings” for 8091:8091
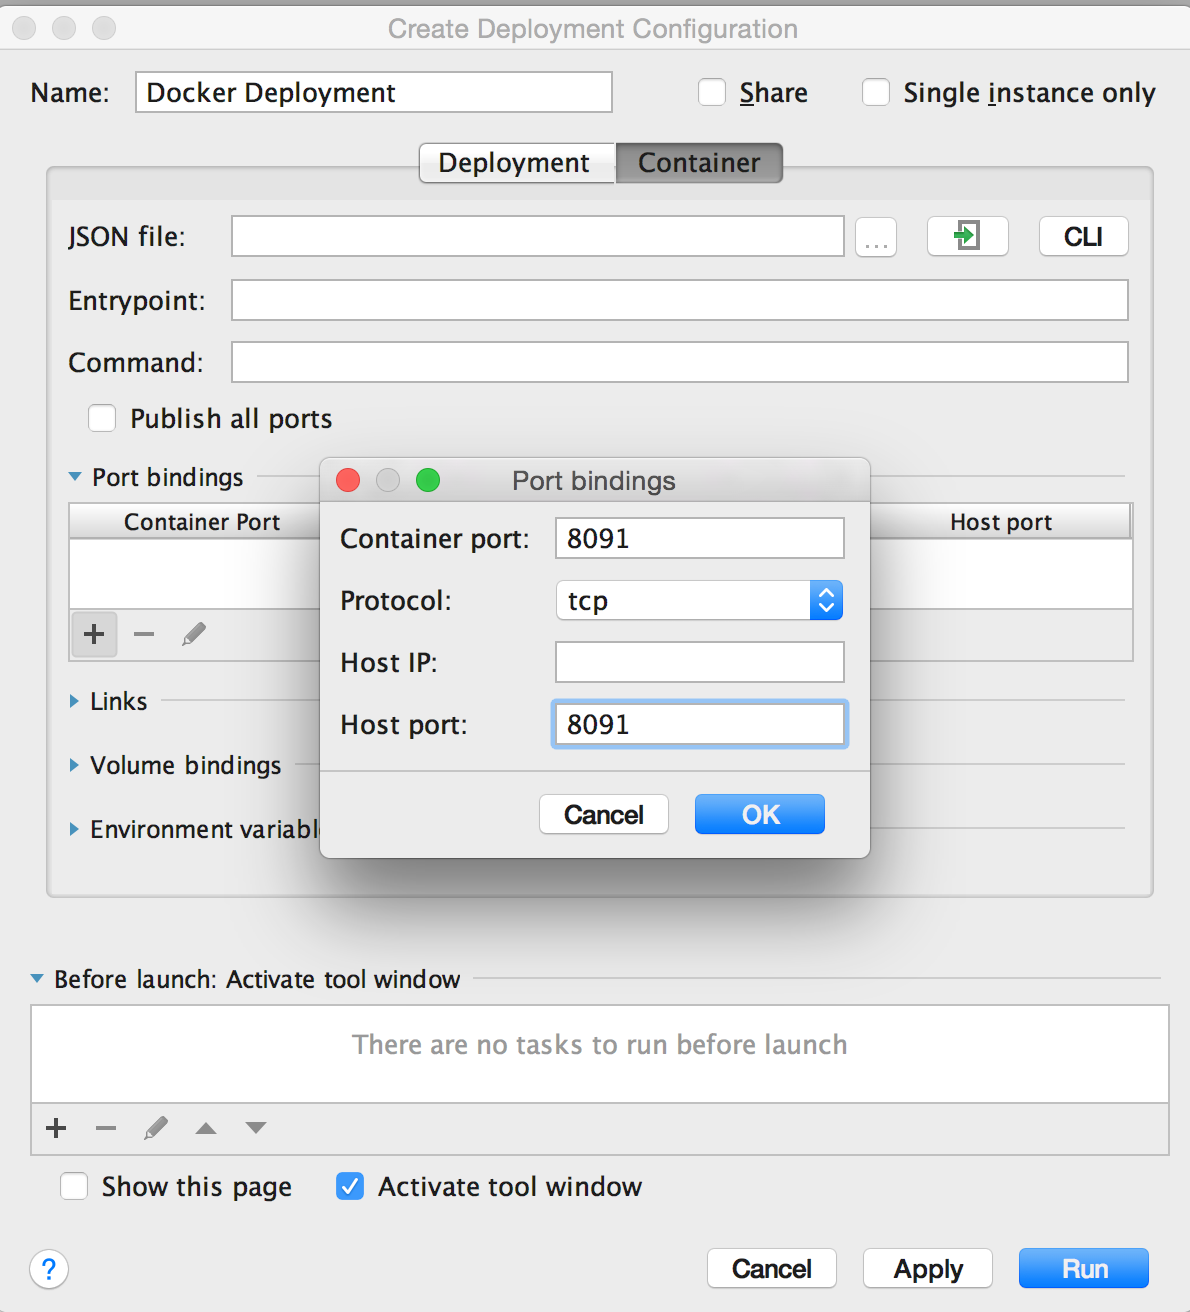
Click on “Run” to run the container.
This will bring up the browser window and display the page http://192.168.99.100:8091 and looks like:
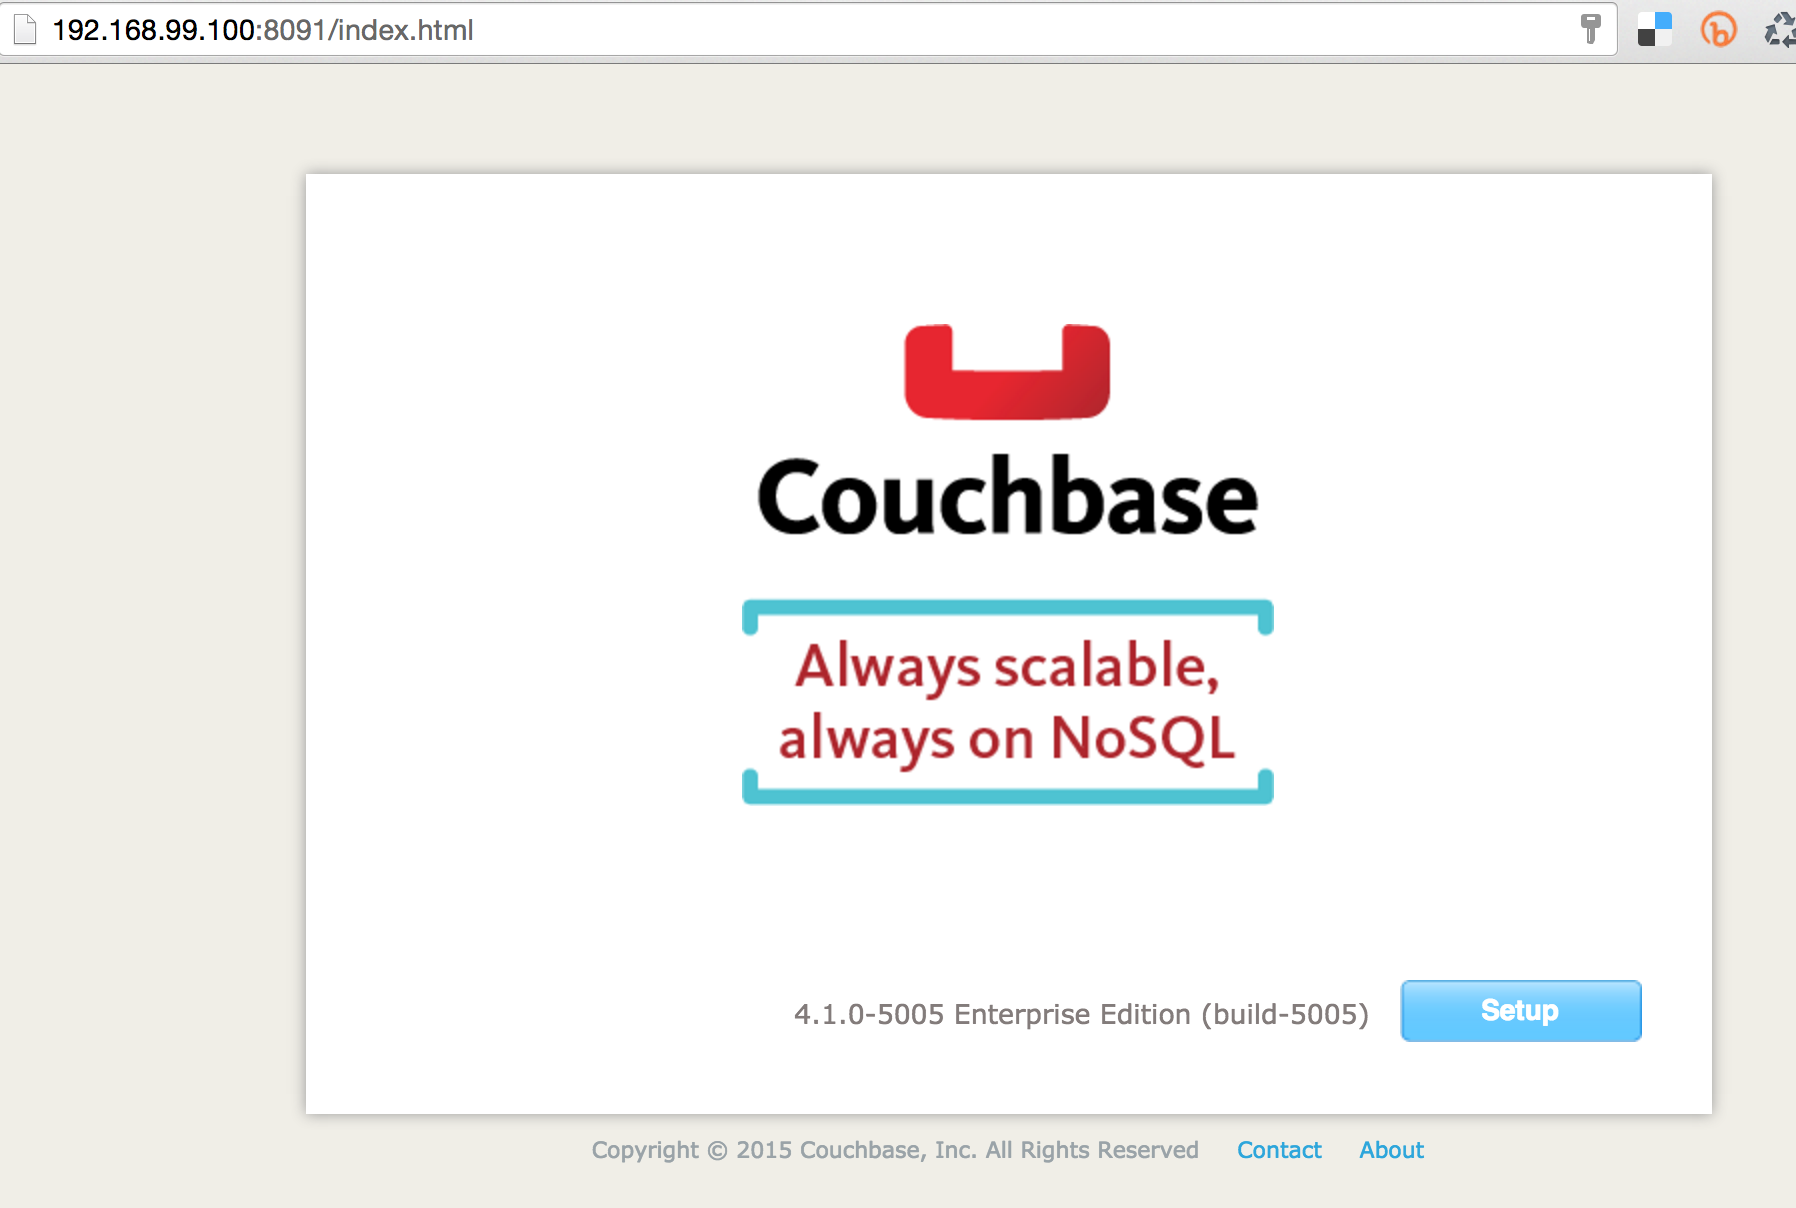
This image uses http://developer.couchbase.com/documentation/server/current/rest-api/rest-endpoints-all.html[Couchbase REST API] to configure the Couchbase server.
Right-click on the running container, select “Inspect” to see more details about the container.
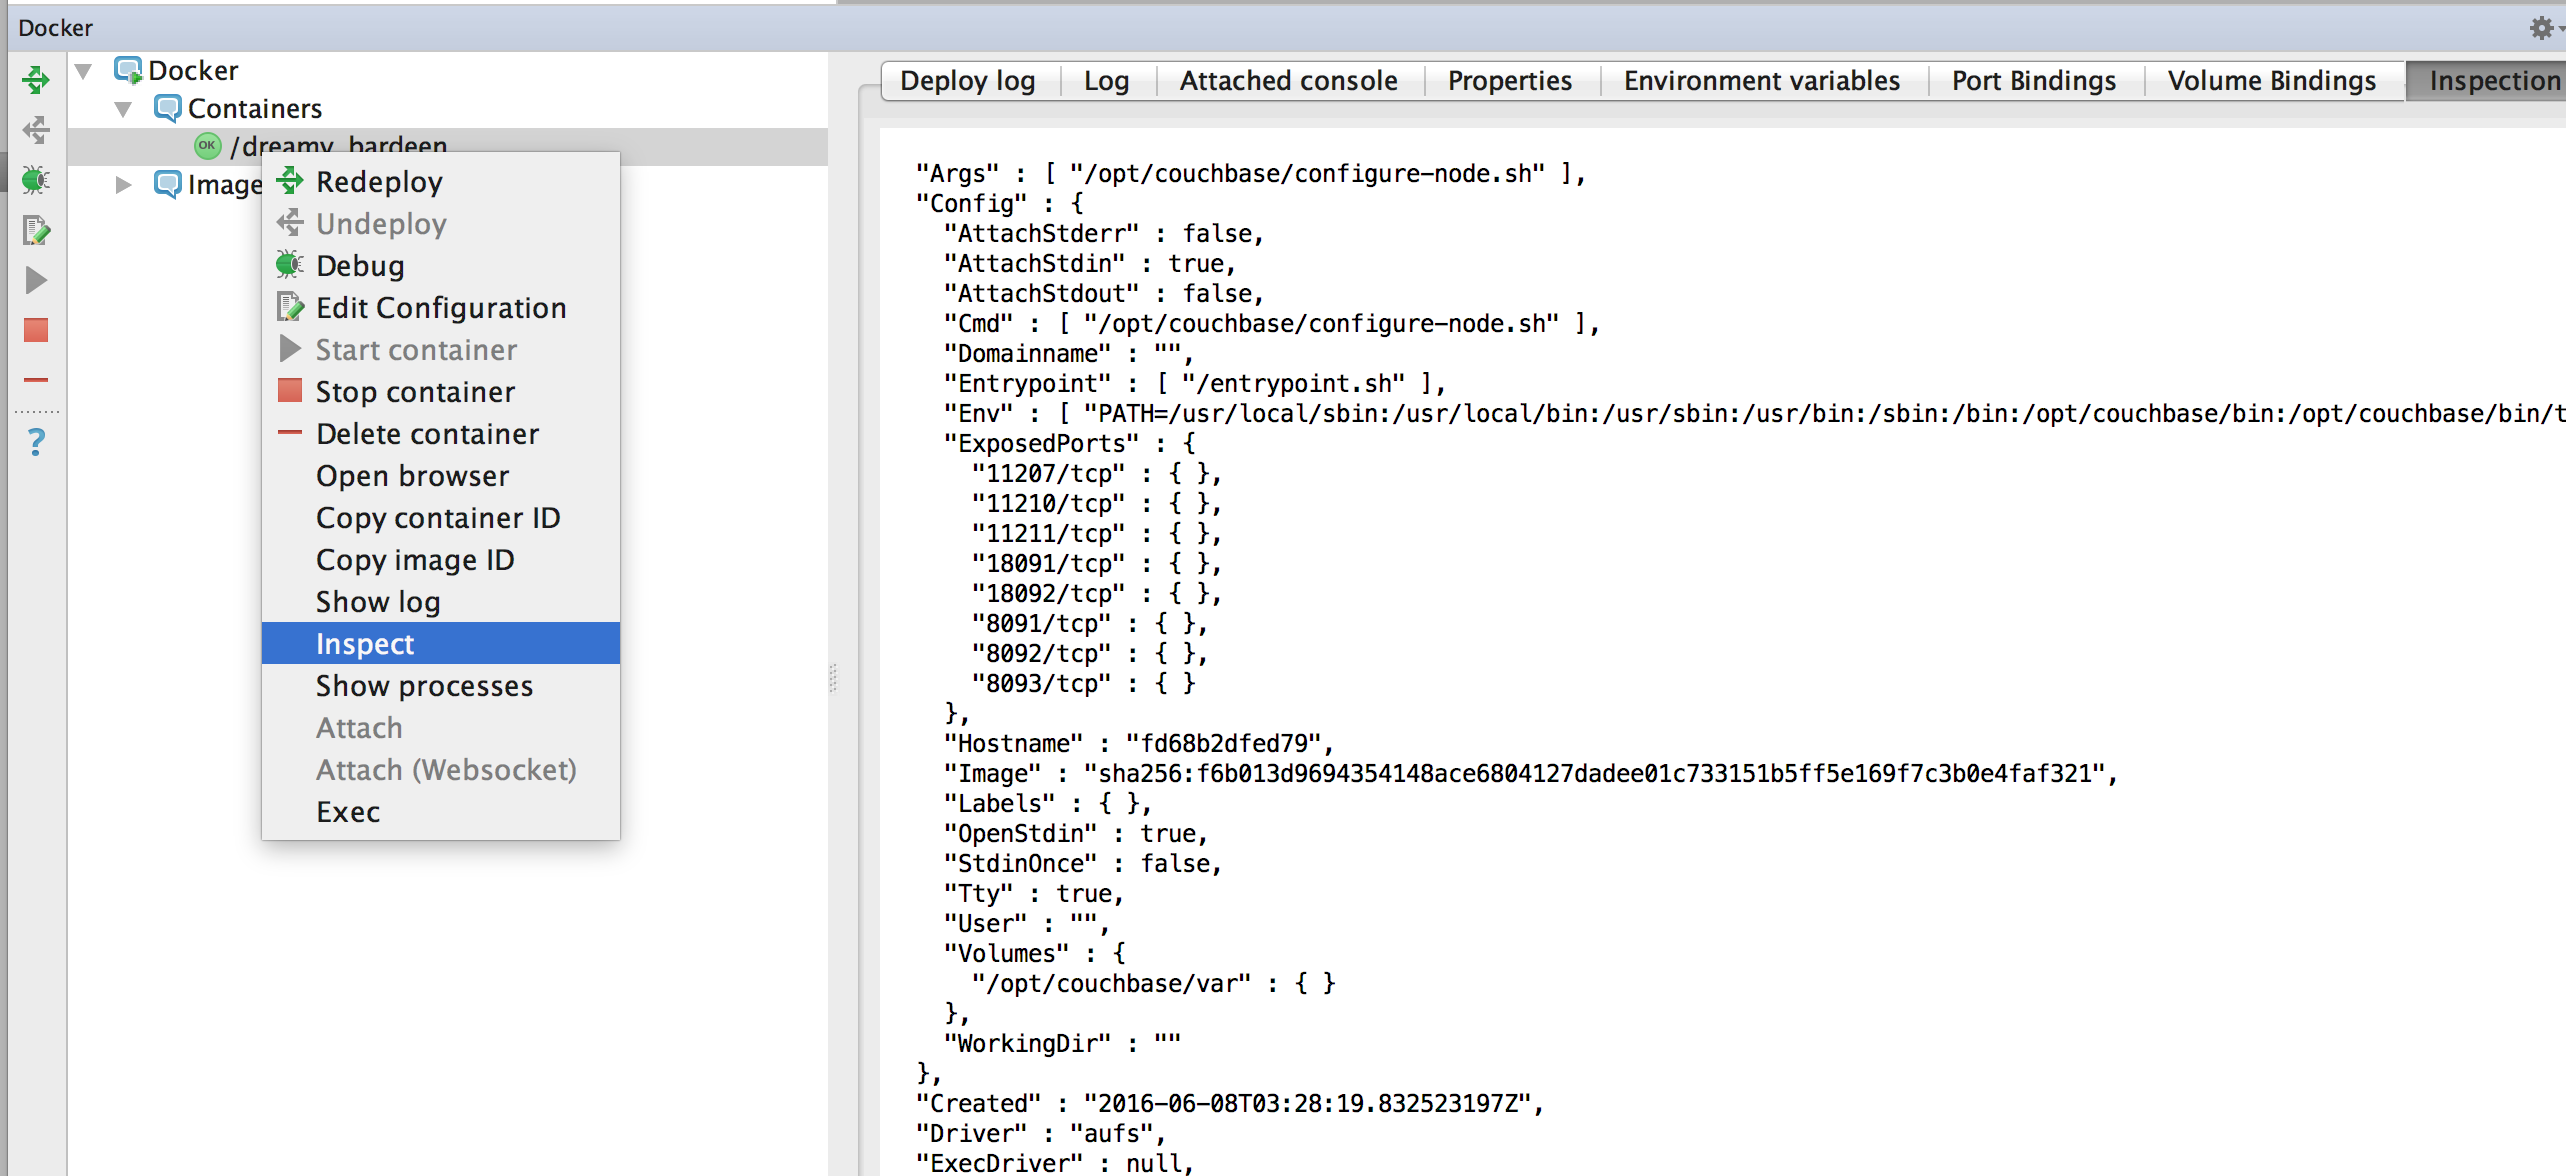
Click on “Stop container” to stop the container and “Delete container” to delete the container.
Build an Image
-
Refer to the instructions https://www.jetbrains.com/help/idea/2016.1/docker.html
-
Right-click on the project, create a new directory
docker-dir -
Artifact
- Click on top-right for “
Project Structure” - select “
Artifacts” - change “
Type:” to “Web Application: Archive” - change the name to
dockercon - change
Output directorytodocker-dir
- Click on top-right for “
-
Create “
Dockerfile” in this directory. Use the contents
FROM jboss/wildfly

ADD dockercon.war /opt/jboss/wildfly/standalone/deployments/
- “
Run”, “Edit Configurations”, add new “Docker Deployment”- “
Deployment” tab- Change the name to
dockercon - Select “
After launch”, change the URL to “http://192.168.99.100:18080/dockercon/index.jsp” - In “
Before launch”, add “Build Artifacts” and select the artifact
- Change the name to
- “
Container” tab - Add “
Port bindings” for “8080:18080”
- “
- View, Tool Windows, Docker, connect to it
- Run the project